Step One: Design What You Want to Knit
If this is your first design, start off with something small or relatively simple. The process of creating a new pattern can be difficult at first, but it will be substantially easier the second time around.
Sketch out some ideas for your design. Don’t worry if you aren’t a natural artist. This is merely to help you visualize your finished piece in your mind. Keep note of any patterns or techniques you’ll want to use in the design.
To narrow down the category of your first pattern, ask yourself the following questions:
- What do you enjoy knitting most?
- Is there a creative way you can approach that design?
- What new techniques can you use or teach through the pattern?
In order to stand out, you’ll want to create a pattern that is useful, eye-catching, and has a unique design. Keep your ideas and thoughts in one place so that they are organized. Eventually, you’ll need to type everything on your computer, but if it is easier for you to jot things in a notebook, keep it handy.
Keep track of every step of your process, what needles or yarn you tried, as well as the size(s) you would like the finished product to be.
Inspiration for Knitwear Design
Look through books or magazines for inspiration. If you wish to learn more about knit design, these books have a lot to offer you visually and informatively:
- Beginner’s Guide to Writing Knitting Patterns – this book is exactly what it seems. The pages detail how to structure your design and format it into a written pattern.
- Knitwear Design Workshop – this book goes through the ins and outs of designing your own knitwear to any size. It also teaches you how to make adjustments to other patterns.
- Designing a Knitwear Collection – this book is more of a source of inspiration rather than a guide. With nearly 500 pages of pictures and stories, you’re bound to find something that moves you to create.
- 750 Knitting Stitches – a book of knit stitch patterns. Looking through swatches of patterns is a great way to find ideas for new designs.
Courses To Help You Through the Design Process
There are several classes or courses that walk you through the harder parts of knit design. Here are a few places you can find them:
- Pattern Writing for Knitters – this online workshop is released by Interweave. As Interweave frequently purchases patterns for publication, their insight on the process could be invaluable should you choose to go down the road of traditional publishing.
- Bluprint offers several classes on both knitting and the design process.
- Check out the Creative Yarn Entrepreneur podcast for many ideas on how to design and market your patterns.
Extra Tips for Pattern Creation
- When you type up your notes, consider using google docs. It is easy to share these documents with your tech editor and knit testers in the future. They can also create comments on the document for any mistakes they find or changes they think should be made.
- Create your knitted item for someone you care about and give it to them when you have finished. Add this to part of your pattern’s story. People enjoy connecting to the tale of an item.
Step Two: Source the Yarn
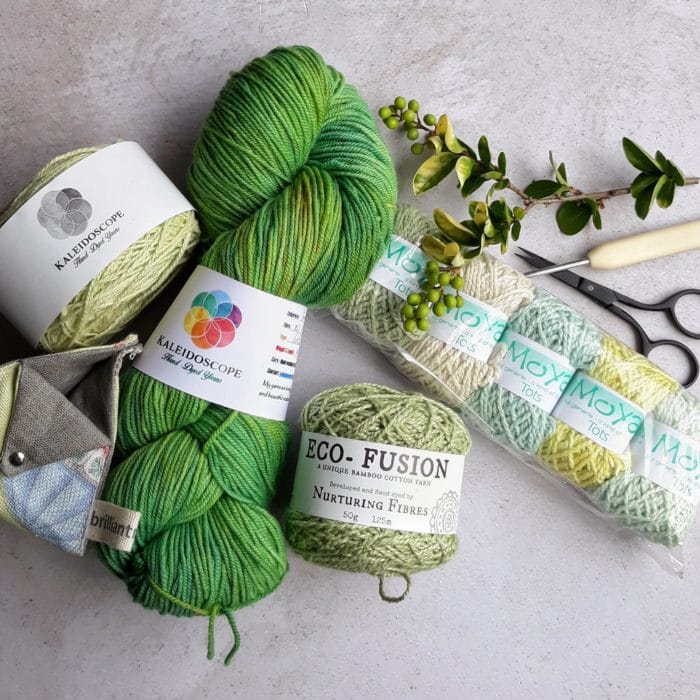
The first thing you’ll need to do is estimate the amount of yarn you’ll need to finish your project. While you can use a knitting calculator, you will do much better if you work out the approximate final measurements by hand and compare them to your swatches.
Work out how many stitches you can make with 3 yards of your chosen yarn, compare it to the swatches, then do the math based on your design. Add 10-15% more yardage than you think you’ll need.
When purchasing yarn, try to purchase from the same lot number if possible. Especially with yarn dyed (and possibly spun) by other crafters, there can be variances in weight and color when different lot numbers are used. Yarn dyed at the same time generally uses the same lot number.
Tip: Use quality fibers for a good-looking product. The major way to attract potential buyers to your pattern is through beautiful images. Start with a beautiful knitted project as your first step.
Possible Ways to Get Free Yarn
- Once you have a bit of a following and you sell several patterns, you may be able to score some free yarn from fiber sellers in exchange for crediting their product on your design.
- Talk to a local yarn shop about hosting free classes. Their customers will be encouraged to purchase products to attend your class.
Step Three: Knit Sample Swatches
Knit at least one swatch for each stitch pattern you intend to incorporate into your design. You should also knit a stockinette swatch, even if you don’t intend to use it in your pattern. Knitters prefer to knit a quick stockinette swatch before they begin knitting your pattern (it also helps them substitute stitch patterns if they wish).
Make the swatches fairly large (a 4-6 inch or 10-15 centimeter square is standard). Wet-block the swatches for more accurate measurements. Save them for future reference. You will be writing your pattern based on that gauge.
How to Make Knit Size Charts
If you are knitting a garment, knit for the desired size, but keep track of other similar sizes. Figure out how many stitches will need to be added (or subtracted) in order to reach those sizes. Add them to the pattern and make adjustments as necessary.
Note: many designers will write the pattern in the smallest size, then in parentheses, show the number needed for larger sizes. For instance, a line could read:
K1, P2, K18 (22, 26, 28), P2, K1
In this pattern, all knitters will knit 1, then purl 2, but will vary on the next step dependant on the size they want their finished garment.
There are many size charts available online. Let your customers know which one you used or copy the important numbers onto your pattern.
Step Four: Knit the Item
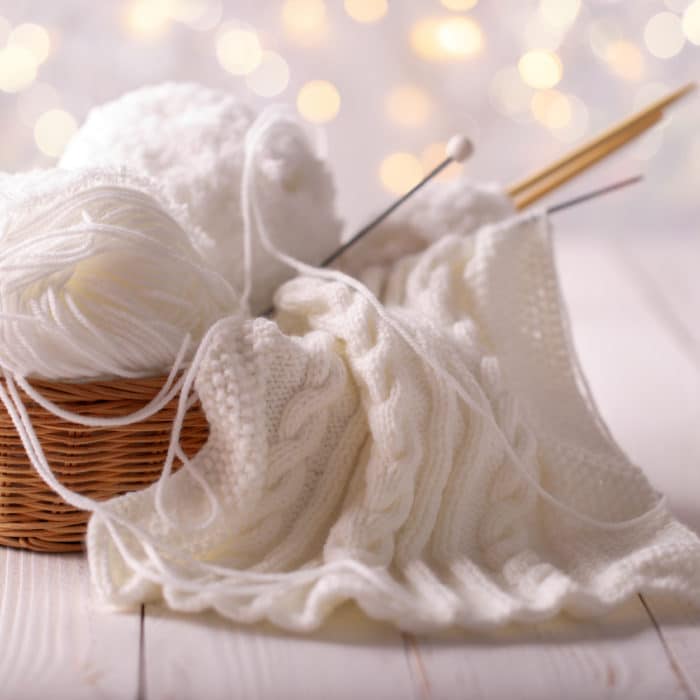
Begin knitting the item. As you knit, take many pictures to go along with your notes. The photos will not only serve as examples throughout the pattern, but your test knitters (more about test knitters later) will also be able to use them for reference.
Make adjustments to your original idea as you create the project. Measure your pieces frequently to ensure a quality product. Remember, you want to create something that will appeal to many.
Write down any tips or techniques that you used in your design. Reference any specialty stitches you make and where they can be found.
Step Five: Write Out the Knitting Pattern
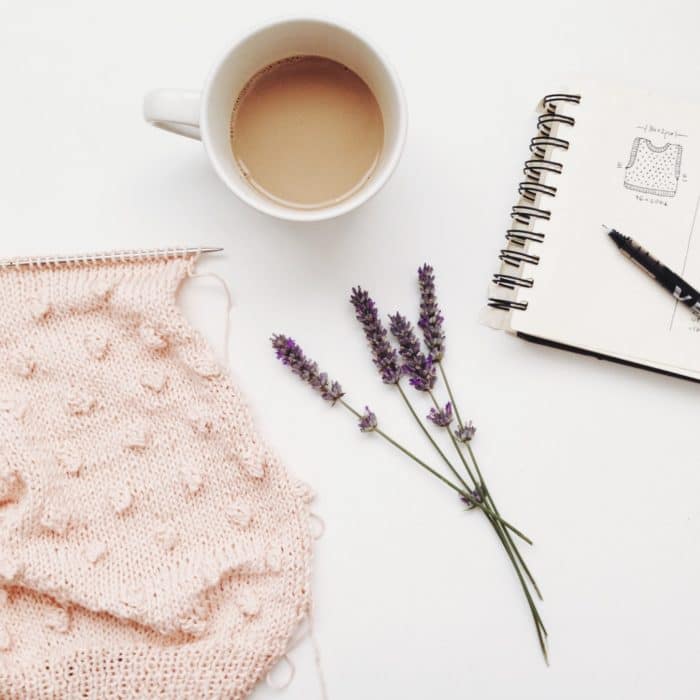
As you go (or when you finish), use your notes, swatches, and the finished product to write out the knitting pattern. Check each detail to ensure accuracy.
Make sure to include the following information:
- The yarn (and weight) you used, including the number of skeins used
- Needle size
- Gauge based on the stockinette swatch, as well as the swatch from your pattern’s primary stitch
- The size of the finished product
- Body measurement chart and information for other sizes shown on the pattern. Include inches and centimeters if possible.
Knit Grid Pattern Software
If you have created an intricate pattern either with special stitches or with multiple colors, create a grid pattern to go along with the written pattern. The following software will help you make professional-looking graphs that you can export to use in your final document.
The Body of The Pattern
Make sure that the pattern is well written and that you thoroughly explain any techniques that you use. Detail as much as you can, including your cast on/cast off methods.
Make sure to clearly state where different sections (such as the bust or the sleeves) begin and end so that future knitters can reference what they need quickly. Use headings, font-sizes, or colors to make certain points stand out. Frequently add stitch counts and measurements in the pattern so that your customers will be able to determine if they are on the right track.
If you want to personalize the pattern, add little stories throughout by using a special font or adding it to the sides of the page.
Step Six: Hire a Knit Tech Editor
A knit tech editor is an expert knitter who can carefully go over your pattern to check it for any errors. A good editor will spend the time checking several things, including:
- Whether the number provided on the gauge is accurate throughout the pattern
- The number of yards of yarn you should have used
- What the finished product should look like based merely on your written pattern.
Tech editors may charge hourly or by the product. If you can’t afford a tech editor, ask a couple of experienced knitters to look over the pattern for you. While a professional may be trained to locate errors, good knitters should still spot any major issues that you’ve overlooked.
Where to Find Tech Editors
You can find knitting Tech Editors in the following places:
- The Unapologetic Knitter
- Friendly Tech Editor
- Kingfisher Knits
- The Tech Editor Hub
- The Tech Editor Hub Facebook Page
- TKGA List
Note: If you are interested in becoming certified as a Tech editor, check out the TKGA site for more information. It isn’t always necessary to be certified to find work, but it doesn’t hurt.
After your editor has checked your work, make any necessary edits.
Step Seven: Have Your Pattern Tested By Other Knitters
Once you have your pattern ready, have it tested by other knitters. Talk to your local knitting group and see if anyone would be interested in trying out your patterns. You can also find test knitters on Ravelry or other online forums.
Prices for test knitters’ work will vary. Some charge a small fee, where others are happy to do in exchange for a free pattern or yarn.
Benefits of Having Your Pattern Tested By Other Knitters
There are several benefits to having your pattern tested by other knitters. We have listed a few of them:
- Feedback from different people with different styles and sizes will give you a broader range of how your pattern would look with color variations and slight adjustments.
- Many extra eyes on your work so that you can answer questions or fix things before it is published.
- Knitters will often post frequent Instagram updates and link the project to their Ravelry accounts. This is free advertising for your pattern.
Tips for Using Test Knitters
- Cater to the knitters who give you the best feedback. Ask them what it would take for them to knit for you again on your next project.
- You can use test knitters before you send your pattern to your tech editor. Do what is most comfortable for you.
- Use a private Facebook group, Discord, Slack or another way for your knitters to all speak to each other. If they are collaborating with each other, they’ll be able to give you better feedback.
- If you want to sell your pattern in many sizes, try to get at least one knitter for each size. This way, you can make sure that each size works.
Make any necessary edits to your pattern after you get their feedback.

Step Eight: Take Attractive Photographs
Take attractive photographs of your final product. If it is wearable, then you (or a model) should wear it. People are more likely to purchase patterns if they see it worn.
If you are able to hire a professional, it is worth it. Professionals can find great angles that will show off your masterpieces. If you aren’t able to hire a photographer, try the following:
- Use good lighting or take pictures outside.
- Try multiple different angles until you find one you like best.
- Have your model try different poses.
Courses for Knitwear Photography
These people offer courses you can take to learn knitwear photography:
- Abby Knits – offers a short course for budding knitting photographers
- Gale Zucker – often gives tips and tricks to her followers
- There are several YouTube videos that give tips and tricks about photographing products.

Step Nine: Design the Page Layouts
Hire a graphic designer or page-maker to layout your pattern for you. They can make sure that your pages are creative, attractive, and works well with your brand.
Make sure that the information your customers need is placed in an obvious place on the pattern. The font should be larger and easy to read. Have photos of the project throughout the pattern.
Tools to Format Your Knitting Pattern
If you can’t afford a designer, you can create your own. Aim to use a professional page-designing software. Take some tutorials online to learn how to use it.
- MyMemoriesSuite – is a scrapbooking software which allows you to easily upload and arrange images. The software is intuitive and comes with built in shapes and stickers for beautiful pages.
- Affinity Publisher – while this software has a learning curve, you’ll be able to format perfect pages for a variety of projects.
Export the project in PDF format. Have your knitting team proof the new layout. Fix any errors, then give them the pattern as a show of appreciation for their hard work.

Step Ten: List the Pattern for Sale
Upload your PDF to one or more pattern or crafting sites. Conditions will vary from site to site, but with some promotion and good feedback, you can earn a passive income selling patterns.
Three favorite sites for publishing are Etsy, Ravelry, and Bluprint. You don’t have to continually add or refresh your posting if you use Blueprint or Ravelry.
For more information, read our post, Where to Sell Knitting Patterns Online.
Step Eleven: Promote Your Knitting Pattern
Promote your pattern on knitting sites, Facebook groups, and knitting forums (where allowed). Share it on your own social media – especially Instagram and Pinterest. If you have your own website or blog, write a post about your experience and link to your pattern posting. If you wish, you can setup coupon codes specifically for you patterns.
Ask your test knitters if they would post an announcement on their own socials. That way, those who followed their knitting of your item can find where they can also get the pattern.
Run an ad on Ravelry and see if you get more sales. Using an ad budget in the future could be beneficial to growing your brand.
Step Twelve: Continue to Design and Publish Patterns
Continue to design and publish patterns. If you can, release them regularly. The larger your portfolio becomes, the more hooks you will have to attract new customers. Your following will increase, and likely, you’ll find additional opportunities to earn as a knitter.

